
How to make a cushion cover using Belle and Boo “Classic” Fabric
Another little project, this time for my daughter’s bedroom. We had some old cushions lying around, so we decided to upcycle them by making cushion covers, using her favourite book characters Belle and Boo and the gorgeous Belle and Boo fabric.
Here is a guide to how we made a cushion cover in 12 simple steps!
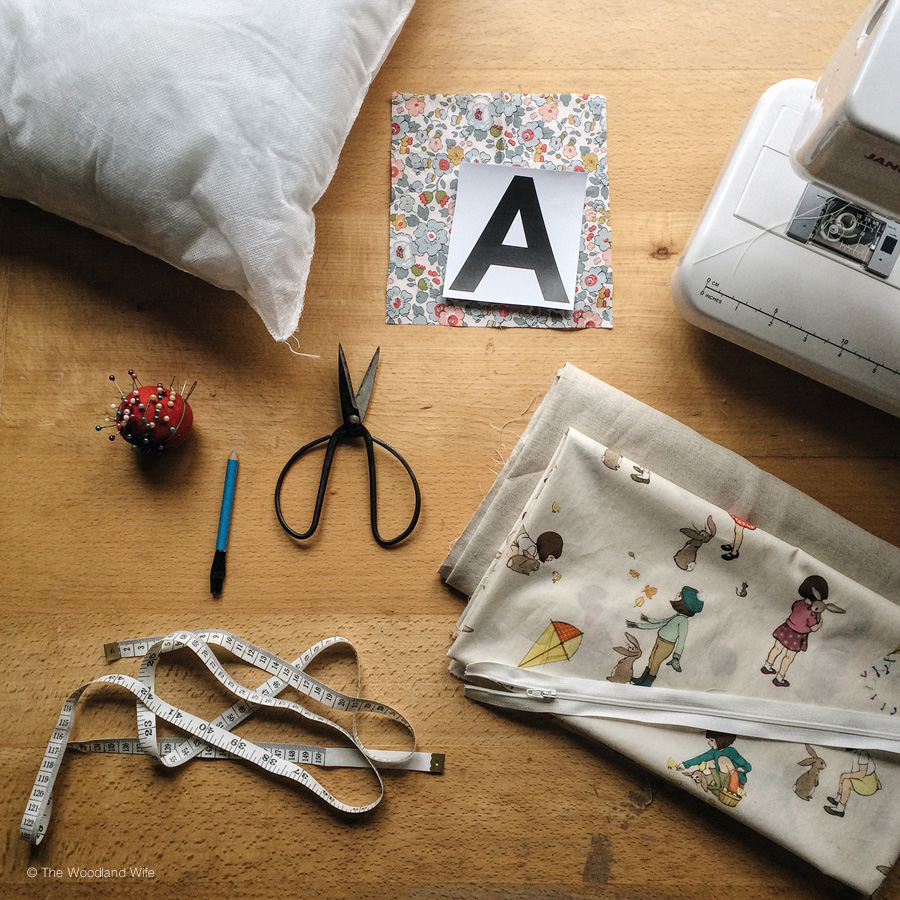
Supplies you will need to make a cushion cover:
- Sewing Machine
- Thread
- Fabric
- Zip large enough for the cushion you are making
- Small scrap of fabric
- Scissors
- Iron
How to make a cushion cover
Step 1
Measure your cushion insert

Step 2
Trim the fabric 1″ wider all round e.g if the insert is 15 x 15″, trim your fabric to 16″ x 16″.

I used one side with Belle and Boo fabric and the other a plain, natural coloured linen.

Step 3 (optional)
Print or draw a letter of your choice on plain paper, then pin it to scrap fabric or similar (I used some scrap Liberty print fabric I had in my scrap bag) then carefully cut out the letter. 
Step 4 (optional)
Pin the Letter onto the middle of your front piece of fabric and carefully sew around the letter.

Step 5
Lay your fabric on top of each other, right sides facing each other.

Step 6
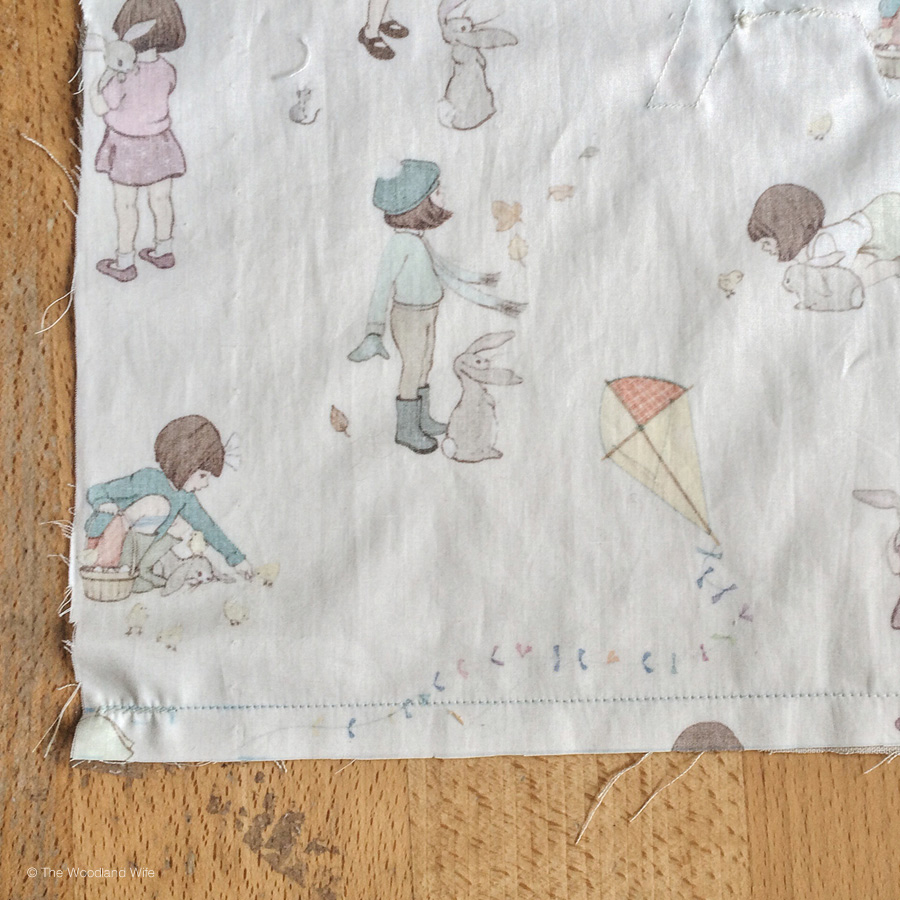
Sew a seam along the bottom. This will be where the zip will be placed, so each end of the seam needs to be reinforced several times with back stitching from the edge to where the zip begins.
(Remember to make sure this seam is on the bottom edge of any pattern)
 Step 7
Next you will need to iron the seam open.
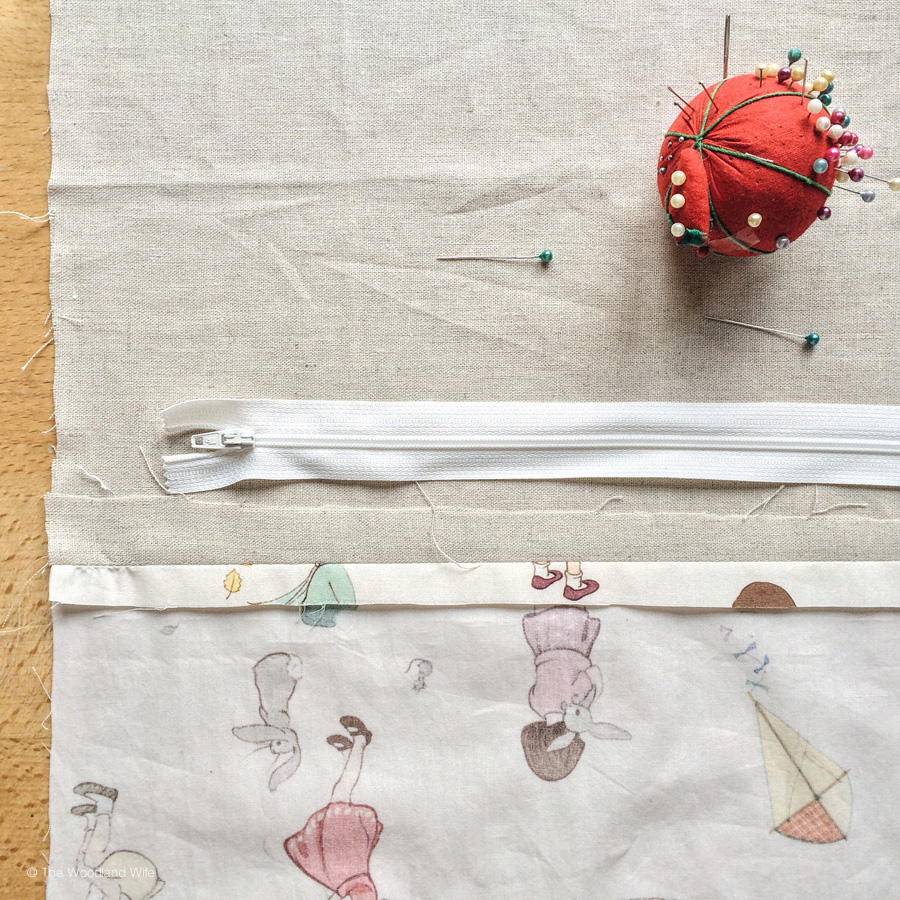
Step 8
Pin the zip into place, making sure that the zip pull is facing down on the seam.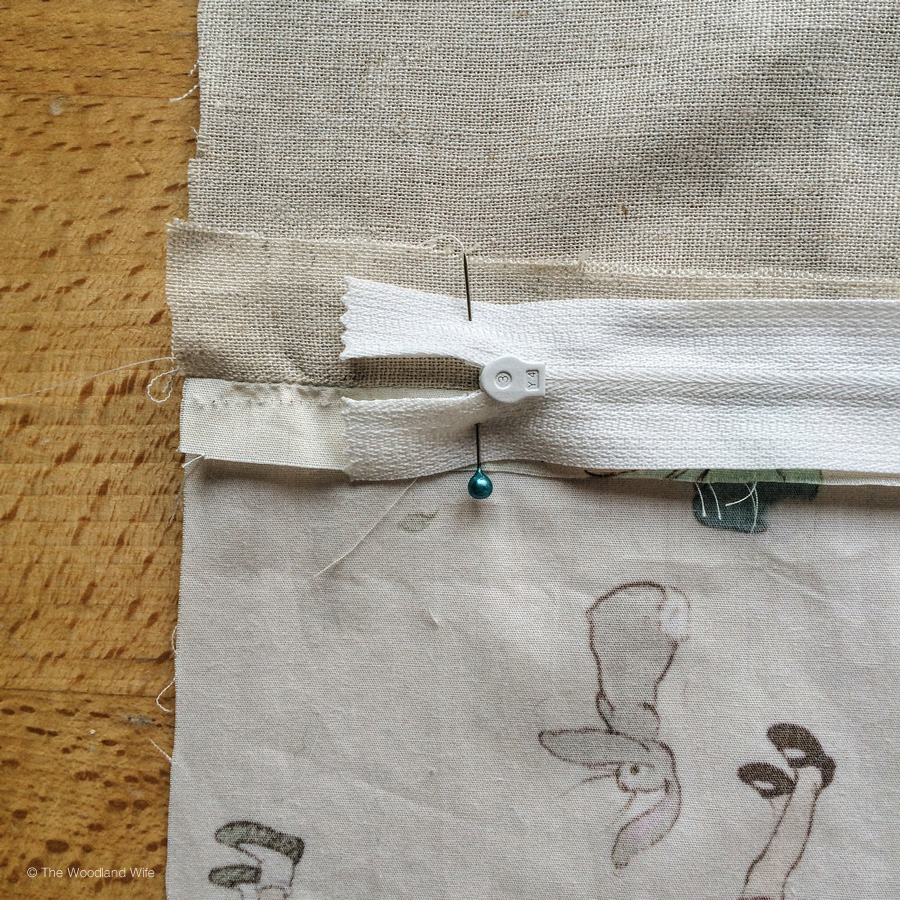
Step 9
On the right side of your fabric, sew top stitch, making sure that the zip is in line with the seam.

Begin with the right side of the zip, turn and sew along to the end, turn and sew the other side, then finish with the end making sure you backstitch both ends.

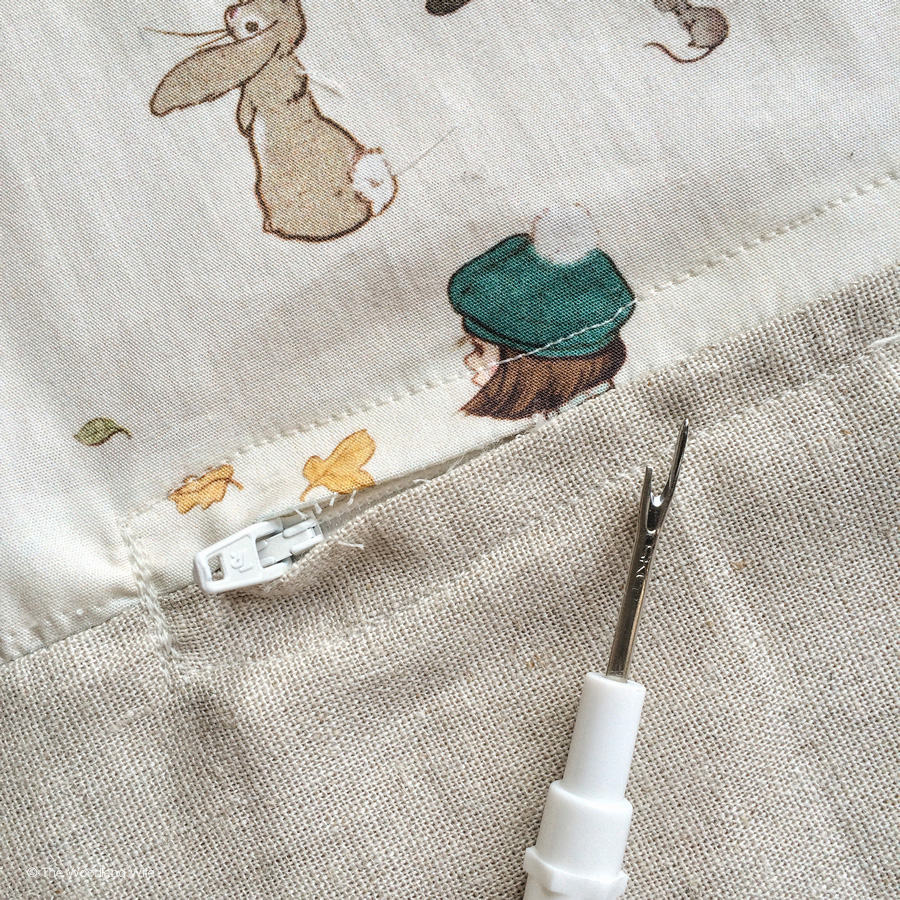
Step 10
Once you have sewn around your zip, unpick the first seam using a seam ripper to expose the zip.
Step 11
Place the right sides of your fabric together again and sew the three remaining sides of your cushion cover with a half inch seam.

Step 12
Trim all four of the corners at an angle then turn your cushion cover the right way, poking the corners out from the inside to form the cushion corners. Iron your cushion and then place your cushion insert into your newly made cover.


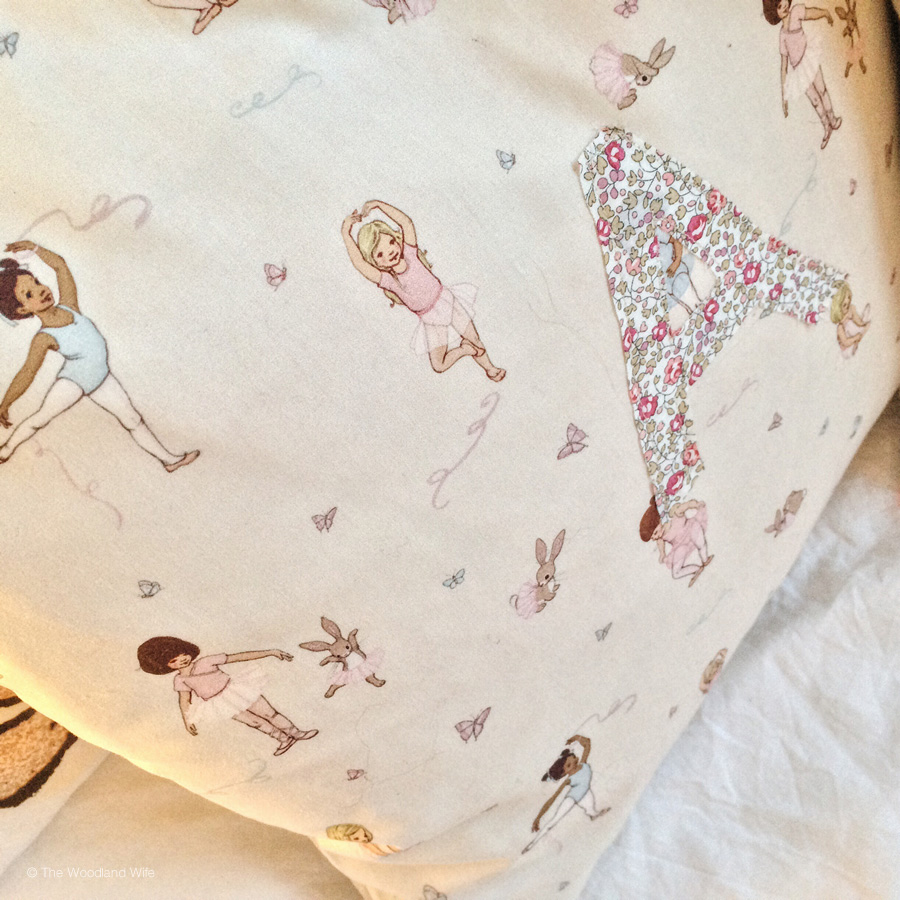
Ta Da!
… and there you have your cushion cover! I made a second cushion cover using the Belle and Boo Ballet print cotton poplin.


![]()
For more information or to buy some beautiful Belle and Boo goodies, visit Belle and Boo or on Instagram.
Please Note: I have not been paid for this post, all thoughts and opinions are my own.
Please feel free to share or repost this ‘how-to’ guide, however, please refrain from copying and pasting my content directly and instead link back to my website.
Blog Terms & Conditions